Wood & workshop
Saw kerf: the missing millimetres in a cut plan
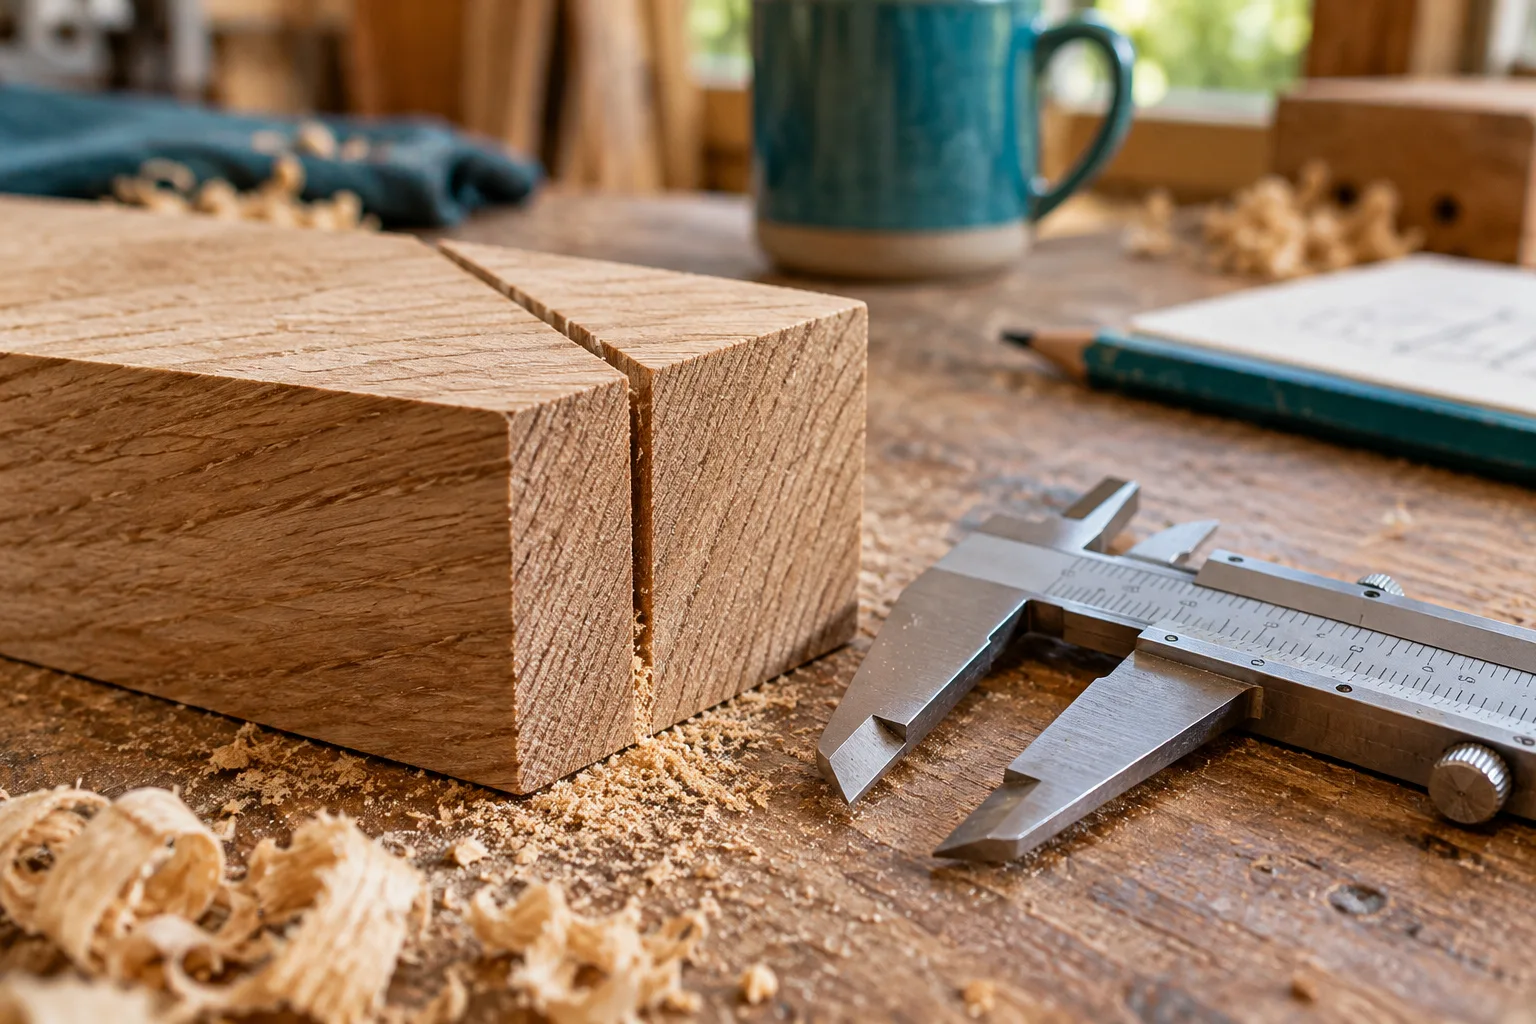
The saw removes material between two finished parts. That slot is the kerf, and it is not necessarily equal to the blade body thickness.
Understand the requirement
The saw removes material between two finished parts. That slot is the kerf, and it is not necessarily equal to the blade body thickness. Tooth geometry, runout and the actual cutting setup affect it. Measure a test cut with your own equipment rather than relying on a guessed universal value.
Choose the right calculation
Count the cuts in the planned sequence and multiply by the measured kerf. Add end trimming separately. An internal dividing cut leaves two edges but only one kerf; counting two kerfs for it exaggerates the loss. Conversely, crosscutting eight pieces from a usable longer board may require eight cuts when a remnant remains.
Check the product and the order
Inspect timber before assigning it to a part. A board may have enough length but an unsuitable knot, split or bowed section where the finished component should be. Record the usable segment and the face you intend to show. Keep moisture and machining allowances separate from nominal dimensions; final fit is decided by the finished piece.
Worked example
A transparent planning example
Use these inputs to follow the calculation. The result below explains what can and cannot be concluded from it.
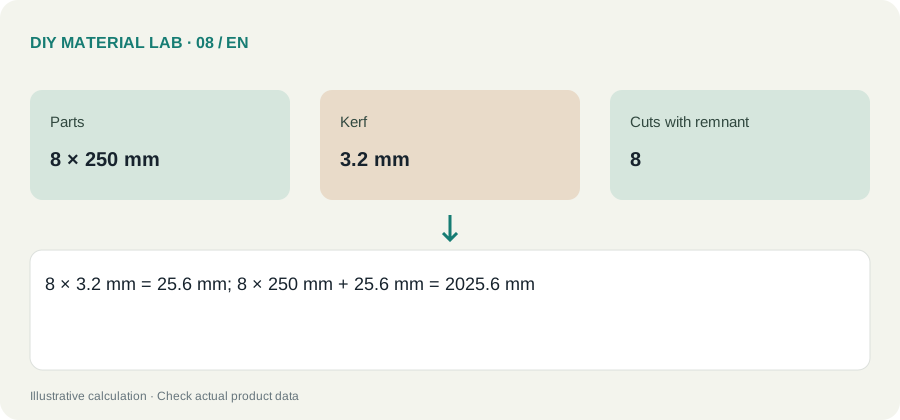
| Parts | 8 × 250 mm |
|---|---|
| Kerf | 3.2 mm |
| Cuts with remnant | 8 |
A 2 m board cannot supply these parts with this sequence. Even a zero-kerf sum merely reaches 2 m, leaving no end allowance. Choose stock using the complete cut plan.
Compare the scenarios
The following comparison isolates the quantities or assumptions discussed in the example. It is a planning illustration, not measured performance data.
Values are calculated from the illustrative inputs above. Different products or dimensions change the result.
Planning checklist
- Measure the actual project and record the units next to every dimension. Identify the regions or parts counted so nothing is included twice.
- Confirm the exact material format and its product instructions. Replace the example inputs with declared dimensions, coverage or yield from your chosen product.
- Calculate the net requirement first. Show cutting or application allowance separately and check whether the example method fits your geometry.
- Convert to whole supplier units once, then price the complete order including compatible accessories, delivery and any separately specified repair stock.
Mistakes to avoid
Do not mix millimetres and metres in the same multiplication. Do not apply a reserve twice, and do not treat a rounded purchase unit as proof that every part fits. Recheck the specific limitation described in the worked example before paying for the order.
Questions and answers
Can I copy the example quantities directly?
No. The examples demonstrate the calculation, not your exact room, layout or product. Replace the inputs and check the specific limitation explained with the result.
What should I verify before ordering?
A 2 m board cannot supply these parts with this sequence. Even a zero-kerf sum merely reaches 2 m, leaving no end allowance. Choose stock using the complete cut plan.